Wednesday, April 29, 2020

More Project Inspo - Club La-La Land Crafts April Kit


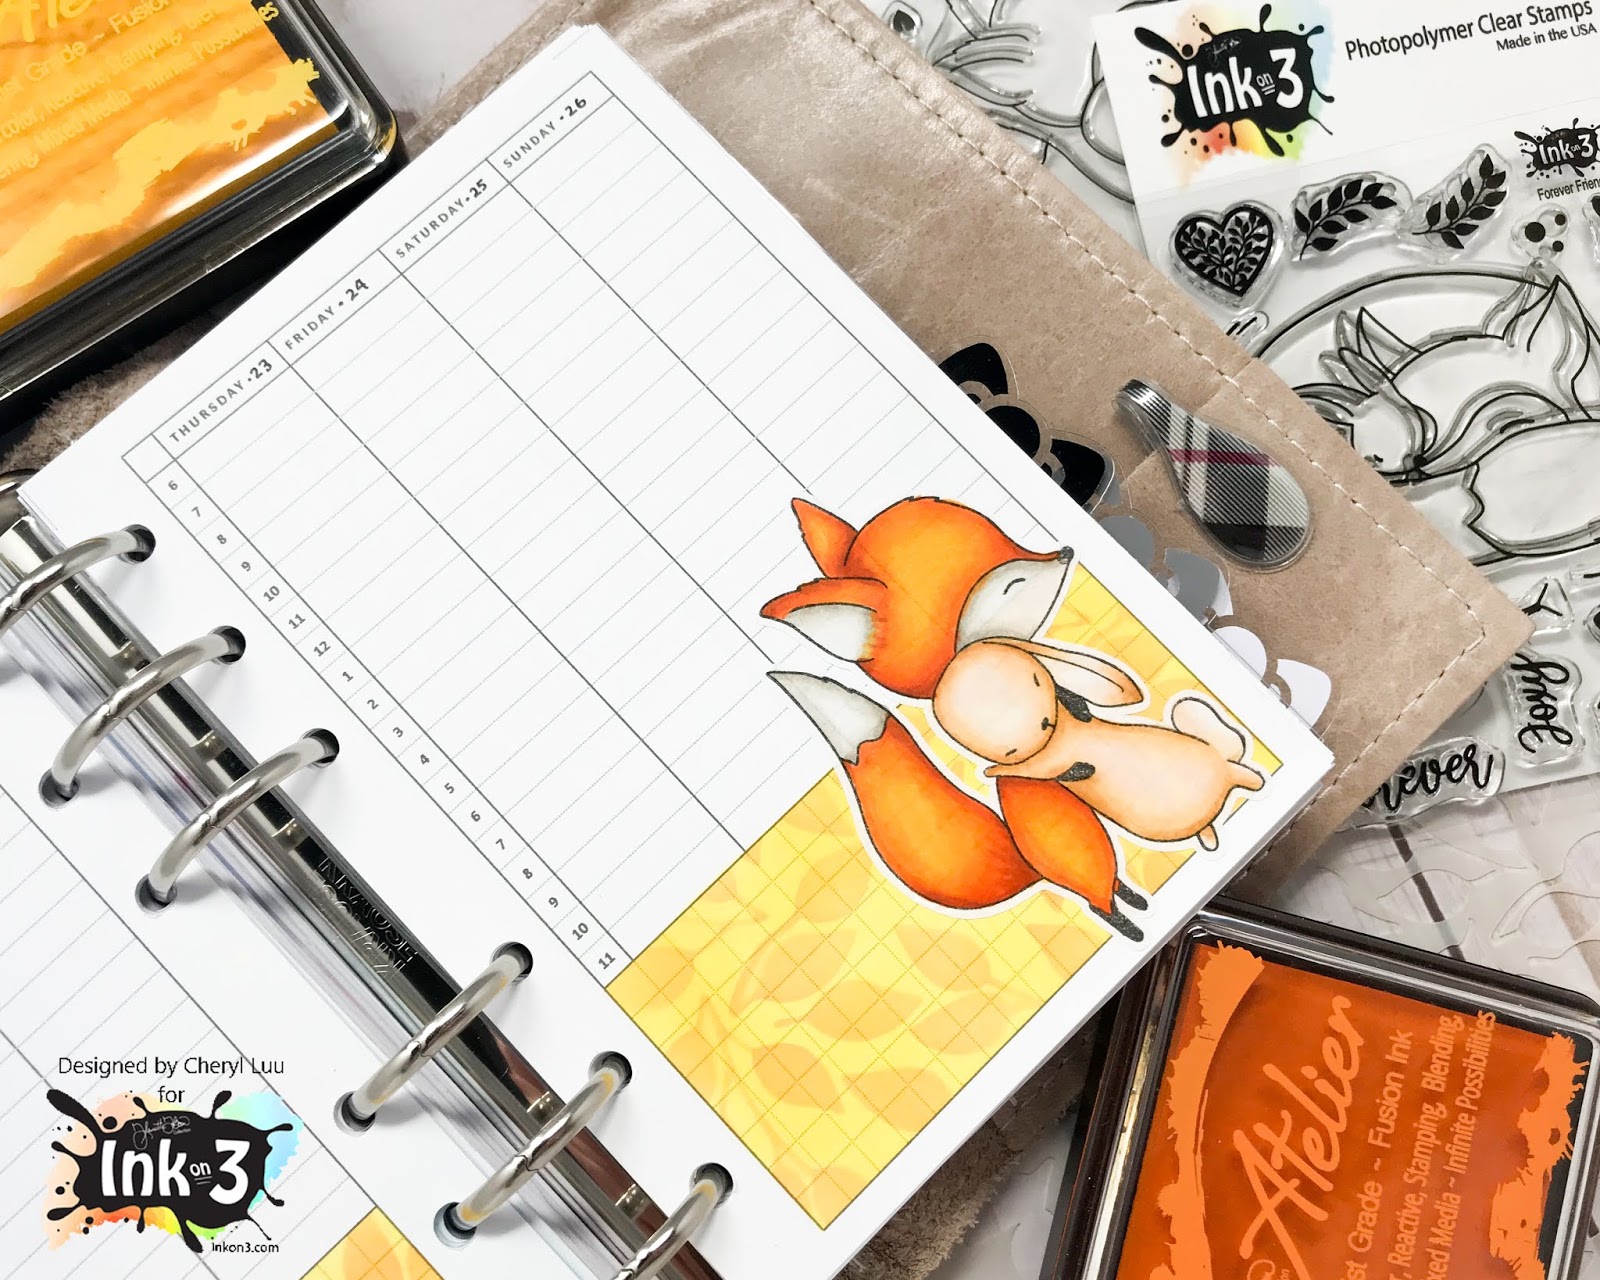
Hello Crafty Friends! I'm here to show a few more projects I've created using Club La-la land Craft's April 2020 kit! It's too late to subscribe to get the kit that I've used in the projects below, but if you subscribe next month, you can purchase past kits with your 2nd subscription!


My first project is a planner layout in my B6 Traveler's notebook! I wanted a nice subtle background so I used the Water Ripples Layering Stencil, I die cut the cheese using yellow cardstock and then used copic markers to add some shading details. Lastly I used the pizza toppings as a day of the week and date divider! Isn't this such a fun layout?


Additional Products Used: 

Copics Used: 
Marci's Skin: E13, E11, E21, E00, E000
Marci's Lips: RV34, RV32, RV11
Marci's Cheeks: RV11, RV10, RV00
Marci's Hair: E18, E15, E13, E11
Marci's Outfit (Blues): BG78, BG48, BG13, BG11, BG000
Marci's Outfit (Greens): YG67, YG63, YG07, YG03
Marci's Shoes: N4, N3, N2, N1, N0
Mouse: W3, W1, W0
Mouse Nose: RV34, RV32, RV11
Mouse's chef outfits: N1, N0, 0
Red Scarf: R39, R35, R32
Pizza Dough: E53, E51, E50
Pizza Crust: E55, E53, E51, E50
Cheese: Y21, Y11, Y000
Pepperoni & Tomato Sauce: R39, R37, R35, R32
Murshrooms: E74, E71, E70

My next project is a fun Pepperoni Lover card! I used the Heart stencil from the Hearts & Harlequins Layering Stencil set. First I used the Squeezed Lemonade distress Ink onto white card stock, then I used worn lipstick to stencil in the heart. Then I used colored pencils to shade in the hearts and add little dots to make it look like pepperoni hearts! :P


Additional Products Used: 

Copics Used: 
Marci's Skin: E13, E11, E21, E00, E000
Marci's Lips: RV34, RV32, RV11
Marci's Cheeks: RV11, RV10, RV00
Marci's Hair: W7, W5, W3
Marci's Outfit (Reds): R39, R37, R35, R32
Marci's Outfit (Yellows): Y23, Y21, Y11, Y000
Marci's Shoes: Y23, Y21, Y11, Y000, N1, N0, 0
Pizza Dough: E53, E51, E50
Pizza Paddle: E27, E25, E23
Pizza Crust: E55, E53, E51, E50
Cheese: Y21, Y11, Y000
Pepperoni & Tomato Sauce: R39, R37, R35, R32


Saturday, April 18, 2020

New Stuff from Inkon3 - Fox & Bunnies!

Inkon3 sneaked in some new products and they're pretty awesome! I'll show you how I used the adorable new Fox and Bunny stamps, and the new Leafy Forest Stencil in my planner!

  
First I masked around the rectangle on the bottom of my planner pages and applied Atelier Ink Bee Sting Yellow with a blending tool. Leaving the mask on, overlay the Leafy Forest Stencil over the yellow rectangle and stencil in the leaf pattern using the Atelier Ink Marigold Orange.

On the left page of my planner, I masked around the left-most rectangle, and applied the Marigold Orange Atelier Ink with a blending tool. Then I stamped the month onto the orange background.


Next, I stamped the large image from the Fox & Bunny Hugs Clear stamp set, and the small Fox & Bunny from the Forever Friends Clear Stamp set onto sticker paper. I fussy cut the images and then colored it in with copic markers. Then I adhered the stamps as shown in the pictures above.


Lastly, I used the leaf silhouette stamp and then three dots from the Forever Friends Clear Stamp set to add some accents around the little Fox curled up with the bunny.

Copic Colors Used:
Fox (Oranges): YR68, Y38, Y35, Y32
Fox (White): W1, W0, W000
Bunny: E53, E51, E50, E000

Inkon 3 Products Used:

Wednesday, April 15, 2020

Club La-La Land Crafts April Kit - Unboxing and Projects

Hello Crafty Friends, I'm here to reveal the Club La-La Land Crafts April 2020 Stamps and Dies Kit!

What is Club La-La Land? 

It's a monthly subscription with exclusive coordinating stamps and/or dies from La-La Land crafts. Each month you'll receive a package with a kit based on your choice of subscription plan - Stamps and Dies, Stamps Only, or Dies only.

Step-by-Step Project Tutorials from the Club La-La Land Crafts Design Team are also included with your subscription!


((Image above has been skewed to prevent pirating))

Sign up by April 20, 2020 to get this kit!

This month's kit is Pizza themed! Isn't that amazing? I mean, who doesn't love pizza?

The first project that I'm going to share with you is a reusable meal planner sign! By laminating the sign, you can use either a dry erase pen, or you can use permanent marker and clean off with hand-sanitizer, or anything that is alcohol based. I used the Hello Life Paper pack. 

Here's the front side of the meal planner, I'll have my meal plan on the top, and then if there's any notes I need to make, i.e. "thaw out chicken", I'll write that on the bottom:


I put a Grocery List on the back side. Since the sign is a little bigger than I'd like to carry in my purse, I'd take a picture of the list on my phone so that I have it handy.


Additional Products Used:

Copic Colors:
Marci's Skin: E04, E11, E21, E00, E000
Marci's Lips: RV34, RV32, R11
Marci's Cheeks: RV11, RV10, RV00
Marci's Hair: N6, N4, N3, N2
Marci's Dress & Socks (Pinks): RV34, RV95, R11, R00
Marci's Dress, Socks & Hair-tie (Reds): R39, R37, R35, R32
Marci's Shoes: N4, N3, N2, N1, N0
Mouse with Pizza Dough: W3, W1, W0
Pizza Dough: E53, E51, E50
Chef's Hat & Apron: N1, N0, 0
Scarf: R37, R35, R32
Mouse with Pizza: N2, N1, N0
Mice Nose: RV11, RV10, RV00
Pepperoni Pizza Crust: E55, E53, E51, E50
Cheese: Y21, Y11, Y0000
Pepperoni & Tomato Sauce: R39, R37, R35, R32


Slimeline cards are so in right now! I wanted to make one with the adorable mice


Additional Products Used: 
Mice: W3, W1, W0
Mice's cheeks: RV10, RV00, RV000
Mice's Nose: W7, W5, W3
Mice's chef outfits: N1, N0, 0
Green Scarf & Chef Shirt trim: YG25, YG23, YG03
Red Scarf:  R39, R35, R32
Pizza Dough: E53, E51, E50
Pizza Paddle: E35, E33, E31
Pepperoni Pizza Crust: E55, E53, E51, E50
Cheese: Y21, Y11, Y0000
Pepperoni & Tomato Sauce: R39, R37, R35, R32
Mushroom: E74, E71, E70
Bell Peppers: YG25, YG23, YG03

You can see my Reveal Video of the Club La-la Land Crafts April 2020 Kit here:


It's Your Birthday- Now Make a Wish! :P

Hi Friends! Here's another project as a Guest Designer for Penguin Palace ! Today's project uses the amazing 360 Degree Stencil! It&...