Showing posts with label atelier inks. Show all posts

Friday, July 24, 2020

Tone on Tone BeYOUtiful Floral Monthly Planner Layout

It's Cheryl with the Inkon 3 Creative Team here to show you how I made this BeYOUtiful monthly pages.


Did you know that the Atelier Inks are Copic Safe? This inspired me to do some tone-on-tone coloring. I think it looks super cool and it keeps the color palette simple which makes coloring super easy! 


I used a scalloped rectangle die and die cut some white card stock. On the white card stock, I stamped out the flowers from the BeYOUtiful Clear stamp set using the Peacock Blue Atelier Ink, then I stamped out the leaves from the same stamp set using the Goddess Green Atelier Ink. Next, I colored in the flower with blue copic markers and the leaves and stems with green copic markers. Then stamp the sentiment "Hello BeYOUtiful" on the lower left hand corner of the rectangle using Twiggy Brown Atelier Ink.


For my A6 planner, I cut a rectangle 6"x 4.25" out of white card stock, and punched holes on the side. Then I used the Leafy Forest Stencil, blender brushes and the Peacock Blue and Goddess Green Atelier Ink to create a beautiful background, you don't have to bring the background all the way to the center since you will cover it with the card stock with the flowers. Adhere the scalloped rectangle with the flowers onto the card stock with the Leafy Forest background.


On the monthly calendar side I stenciled in some more leafy backgrounds using Peacock Blue and Goddess Green Atelier Ink. Then I added some gold sparkly washi tape on the top of the page.


What do you think of the tone-on-tone coloring? It's not quite no-line coloring, but you get a nice softness to the image right?


Products Used:

Copics Used: 
Blues: BG05, BG02, B000
Greens: YG27, YG23, YG13

Saturday, April 18, 2020

New Stuff from Inkon3 - Fox & Bunnies!

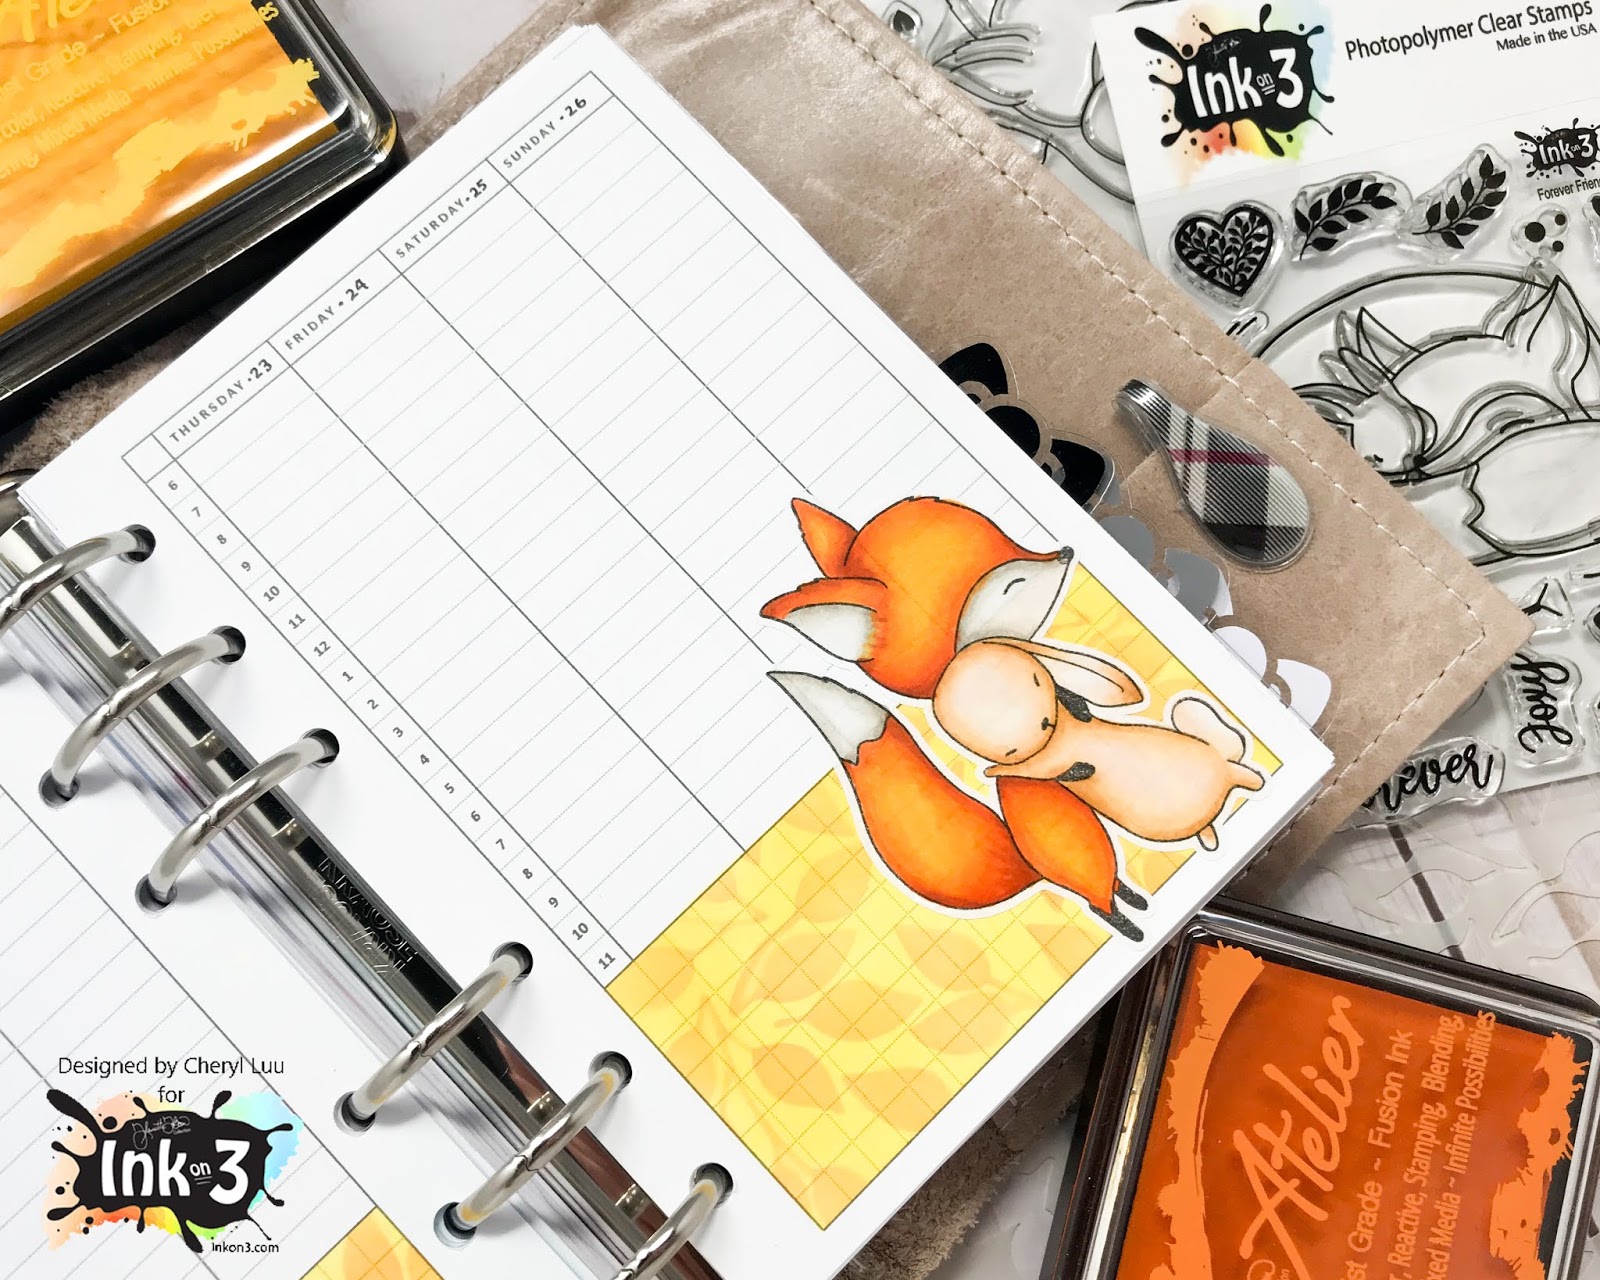
Inkon3 sneaked in some new products and they're pretty awesome! I'll show you how I used the adorable new Fox and Bunny stamps, and the new Leafy Forest Stencil in my planner!

  
First I masked around the rectangle on the bottom of my planner pages and applied Atelier Ink Bee Sting Yellow with a blending tool. Leaving the mask on, overlay the Leafy Forest Stencil over the yellow rectangle and stencil in the leaf pattern using the Atelier Ink Marigold Orange.

On the left page of my planner, I masked around the left-most rectangle, and applied the Marigold Orange Atelier Ink with a blending tool. Then I stamped the month onto the orange background.


Next, I stamped the large image from the Fox & Bunny Hugs Clear stamp set, and the small Fox & Bunny from the Forever Friends Clear Stamp set onto sticker paper. I fussy cut the images and then colored it in with copic markers. Then I adhered the stamps as shown in the pictures above.


Lastly, I used the leaf silhouette stamp and then three dots from the Forever Friends Clear Stamp set to add some accents around the little Fox curled up with the bunny.

Copic Colors Used:
Fox (Oranges): YR68, Y38, Y35, Y32
Fox (White): W1, W0, W000
Bunny: E53, E51, E50, E000

Inkon 3 Products Used:

Friday, March 27, 2020

Fun Biker Bunny Planner Notes Page

Hello Crafty Friends! I hope everyone is safe and healthy! I'm here to show you how to make your notes pages in your planner super cute and fun! I love decorative notes pages, but when I buy them, sometimes I don't like being stuck with just one or two designs for all of my notes. SO I thought, how about taking a plain planner page and make it fun with stamps! 


First I masked out a section of the page using post-it notes and then used orange distress oxide ink to make an orange rectangle. Then I stamped one of the bunnies and accessories from the Biker Bunnies Clear Stamp set using the Atelier Inks Marigold Orange onto the orange background.

Then I used a light blue distress ink to create a blue background on the bottom of the page. I stenciled in some rays using a slightly darker blue ink. 


Next, I used the Phat Alphanumeric Clear Stamp Set and Blackout Hybrid Detail ink to stamp out the word "NOTES" onto sticker paper. I also stamped out the motorcycle and the Biker Bunny that's sitting from the Biker Bunnies Clear Stamp Set onto sticker paper. I fussy cut the images and then colored them in with alcohol markers. 


Lastly, place the stamped images or "stickers" onto the planner page, and there you have it! A super fun Notes pages that you're going to love to keep open on your desk!


Products Used: 

Friday, February 21, 2020

Adorable Spring Tags using Atelier Inks

Hi everyone! It's Cheryl with Inkon3's Creative Team here to show you some adorable tags using Atelier Inks to make fun and colorful backgrounds!


Spring is just around the corner and Inkon3 has some really adorable Spring themed stamps! For the project I'm sharing I'll be showcasing the Lil Chicks and Biker Bunnies Stamp sets.

First, I die cut some tags, tag reinforcements, and banner using white card stock. For these tags I'm using La-La Land Craft's Stitched Tags Die. Then I used Atelier inks to add color to the tags. For one tag I used Bee Sting Yellow, for the other tag I used Peacock Blue, and for the last tag I used Marigold Orange. For the tag reinforcements and the banner for the sentiments I used Marilyn Red, Goddess Green, and My Jam Purple for each one.

Next, I stamped out the three chicks from the Lil Chicks stamp set using Inkon3's Blackout Waterproof Detail Ink. Then I colored the chicks using copic markers, and then fussy cut the images.


Once the tags are thoroughly dried, I create a background using the small stamps in the Biker Bunnies Stamp set. I used Marilyn Red on the Marigold Orange tag, Godess Green on the Bee Sting Yellow tag, and My Jam Purple on the Peacock Blue tag.

On the banners, stamp some sentiments using Juicy Clear Embossing ink, then sprinkle some Arctic White Ultra Fine Embossing powder and heat set. Adhere the banners and tag reinforcements matching the same color as the small stamped images on the tags, trim off any excess banner. Lastly adhere the cute little chickies onto the tag.


Copic Colors Used:
Yellows: Y000, Y00, Y02, Y21
Oranges: Y35, Y38

Inkon 3 Products Used:


Friday, December 27, 2019

Rainbow Color Splatter Card using Atelier Inks!


Hello Crafty Friends! I'm on the Inkon3 Blog today sharing how I made this card! Honestly, it's the first time I used the technique to make the rainbow background but I'm really loving it! The Inkon3 Atelier Inks are so vibrant and gorgeous!

Check out the the Inkon3 blog for the details on how I made this card: https://inkon3.blogspot.com/2019/12/atelier-inks-colorful-splatter-card.html

Need the supplies? Spend your Christmas money with Inkon3! :P

Inkon3 Products Used:
Peacock Blue Re-Inker
Goddess Green Re-Inker
Bee Sting Yellow Re-Inker
Marigold Orange Re-Inker
Marilyn Red Re-Inker
Paint it Black - Atelier Ink
Blackout Hybrid Detail Ink 
Dance and Twirl Stamp Set
Arctic White Ultra-Fine Embossing Powder


It's Your Birthday- Now Make a Wish! :P

Hi Friends! Here's another project as a Guest Designer for Penguin Palace ! Today's project uses the amazing 360 Degree Stencil! It...